Step-by-Step Paint Correction Guide Before Your Ceramic Coating in Maitland in Ceramic Coating Maitland, FL
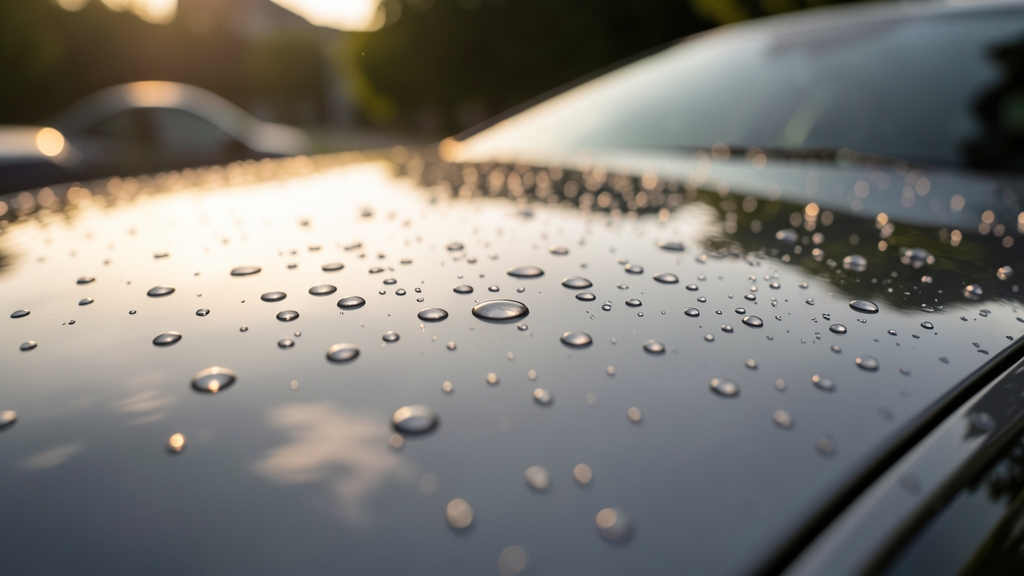
Applying ceramic coating over imperfect paint is like sealing in the flaws. Proper paint correction ensures a mirror-finish foundation that lets the coating bond perfectly and shine for years. We’ll walk you through the professional process, step by step.
Why Paint Correction Is Non-Negotiable Before Ceramic Coating
Ceramic coatings amplify every imperfection. Swirl marks, scratches, and oxidation won’t disappear under the coating—they’ll be locked in permanently. A flawless base is the only way to achieve that deep, reflective gloss Maitland drivers expect.
Our climate’s intense UV and humidity accelerate paint damage. Without correction, contaminants and etched water spots will show through even a high-quality ceramic coating. This prep step isn’t optional—it’s the foundation of lasting protection.
Applying ceramic coating over uncorrected paint voids protection and wastes your investment. Once sealed, defects are far harder and costlier to fix.
Tools and Materials You’ll Need for Professional Results
Start with a dual-action polisher, microfiber cutting and finishing pads, and high-quality compounds and polishes. A clay bar or synthetic clay mitt removes embedded contaminants that washing misses.
Don’t overlook a paint thickness gauge to avoid over-polishing. An IPA solution (isopropyl alcohol and distilled water) ensures a clean, residue-free surface before coating. For stubborn defects, a fine-grade sanding block may be necessary.
Essential Paint Correction Kit
- Dual-action polisher with backing plate
- Microfiber cutting, polishing, and finishing pads
- Heavy-cut compound and fine polish
- Clay bar or synthetic clay mitt and lubricant
- Paint thickness gauge
- IPA solution (50/50 or 70/30 mix)
- High-quality microfiber towels
- Painter’s tape for trim protection
Step 1: Deep Cleaning and Decontamination
Begin with a thorough two-bucket wash using a pH-neutral car shampoo. This removes surface dirt without stripping wax or sealants. Work in shaded areas—Maitland’s sun can cause products to dry too quickly.
After drying, use a clay bar with lubricant to pull embedded contaminants like tar, industrial fallout, and rail dust from the clear coat. You’ll feel the difference as the surface becomes glass-smooth.
Step 2: Inspecting and Measuring Paint Thickness
Use a paint thickness gauge to check clear coat depth across panels. This prevents over-polishing, which can burn through the clear coat—especially on edges and high-wear areas.
Note readings in multiple spots. Factory paint can vary, and previous repairs may have thinner layers. If readings drop below 100 microns, proceed with extreme caution or consult a professional.
Florida’s sun and frequent car washes thin clear coat faster. Always measure before aggressive compounding, especially on hoods and roofs.
Step 3: Compounding to Remove Heavy Defects
Heavy-cut compound and a microfiber cutting pad tackle deep scratches, swirls, and oxidation. Work in small sections with moderate pressure, using overlapping passes. Keep the pad flat and the polisher moving to avoid holograms.
For severe defects, wet-sanding with 2000-3000 grit paper may be needed. This step requires precision—over-sanding can damage the base coat. Follow with compounding to restore clarity.
Step 4: Polishing for a Mirror Finish
Switch to a finer polish and a finishing pad to refine the surface. This step removes compounding haze and enhances gloss. Use lighter pressure and slower arm speeds to avoid inducing new swirls.
Inspect under direct light or a paint inspection lamp. Any remaining defects will show up clearly. Repeat polishing as needed, but avoid excessive passes that can thin the clear coat.
| Aspect | Compounding | Polishing |
|---|---|---|
| Purpose | Removes heavy defects (scratches, oxidation) | Refines surface, enhances gloss |
| Pad Type | Microfiber cutting pad | Microfiber finishing pad |
| Product | Heavy-cut compound | Fine or ultra-fine polish |
| Pressure | Moderate to high | Light to moderate |
| Result | Hazy, matte finish | High-gloss, mirror-like finish |
Step 5: Final Inspection and IPA Wipe-Down
After polishing, perform a final inspection under multiple light sources. Look for missed swirls, holograms, or uneven gloss. Address any issues before moving forward.
Wipe the entire surface with an IPA solution to remove oils, polish residues, and fingerprints. This ensures a chemically clean surface for the ceramic coating to bond properly. Use a fresh microfiber towel for the final pass.
Common Mistakes to Avoid in Maitland’s Conditions
Working in direct sunlight causes products to flash-dry, leading to streaks and uneven results. Early mornings or late afternoons are ideal in Central Florida’s heat.
Skipping the clay bar step leaves contaminants that can interfere with polishing and coating adhesion. Also, avoid using household towels—they can introduce new scratches.
Maitland’s oak trees and pollen can leave sap and organic contaminants. A pre-wash with a dedicated iron remover helps dissolve these before claying.
When to Call a Professional for Paint Correction
Deep scratches that catch a fingernail, severe oxidation, or paint peeling require professional attention. DIY attempts can worsen damage and lead to costly repaints.
If your vehicle has extensive previous repairs, mismatched paint, or thin clear coat, our team can assess and correct it safely. We also offer full-vehicle ceramic coating, paint protection film installation, and ceramic window tint for comprehensive protection.
How to Clay Bar Your Vehicle Before Paint Correction
Claying removes contaminants that washing can’t, ensuring a smooth surface for polishing.
- 1Wash the Vehicle
Start with a thorough wash using pH-neutral shampoo to remove surface dirt. Dry completely with a clean microfiber towel.
- 2Lubricate the Surface
Spray a clay lubricant or diluted car shampoo onto a small section (about 2x2 feet). This prevents the clay from sticking and marring the paint.
- 3Clay the Panel
Gently glide the clay bar back and forth over the lubricated area. Use light pressure—let the clay do the work. Fold the clay frequently to expose a clean surface.
- 4Wipe and Inspect
Wipe the panel dry with a microfiber towel. Run your hand over the surface—it should feel smooth as glass. Repeat until the entire vehicle is clayed.
- 5Re-lubricate as Needed
If the clay starts to drag or stick, reapply lubricant. Discard the clay if it becomes overly contaminated or drops to the ground.
Frequently Asked Questions
How long does paint correction take before ceramic coating in Maitland?
For an average vehicle, DIY paint correction can take 2-3 full days, depending on the condition of the paint and your experience level. Professionals typically complete it in 4-8 hours. Complex cases with heavy defects or large vehicles may take longer.
Can I apply ceramic coating without paint correction?
Technically, you can, but it’s not recommended. Ceramic coatings will amplify and seal in any existing swirls, scratches, or oxidation. The result will lack the deep gloss and clarity that make ceramic coatings worth the investment.
What’s the difference between compounding and polishing?
Compounding uses abrasive compounds to remove heavy paint defects like deep scratches and oxidation. Polishing uses finer abrasives to refine the surface, remove compounding haze, and enhance gloss. Both steps are essential for a flawless finish.
How do I know if my paint is too thin for correction?
Use a paint thickness gauge to measure the clear coat. Readings below 100 microns (or 4 mils) are a red flag. If the paint is too thin, aggressive correction can burn through the clear coat, requiring repainting.
Does paint correction remove all scratches?
It depends on the depth. Light to moderate scratches within the clear coat can often be fully removed. Deep scratches that penetrate the base coat may need wet-sanding or professional repair. A test spot will reveal what’s achievable.
Can I do paint correction on a brand-new car before ceramic coating?
Yes, and it’s often necessary. Even new cars can have swirl marks from dealer prep, rail dust, or minor paint defects from the factory. A light polish can enhance the finish before applying a ceramic coating.